Make Your Own Loom
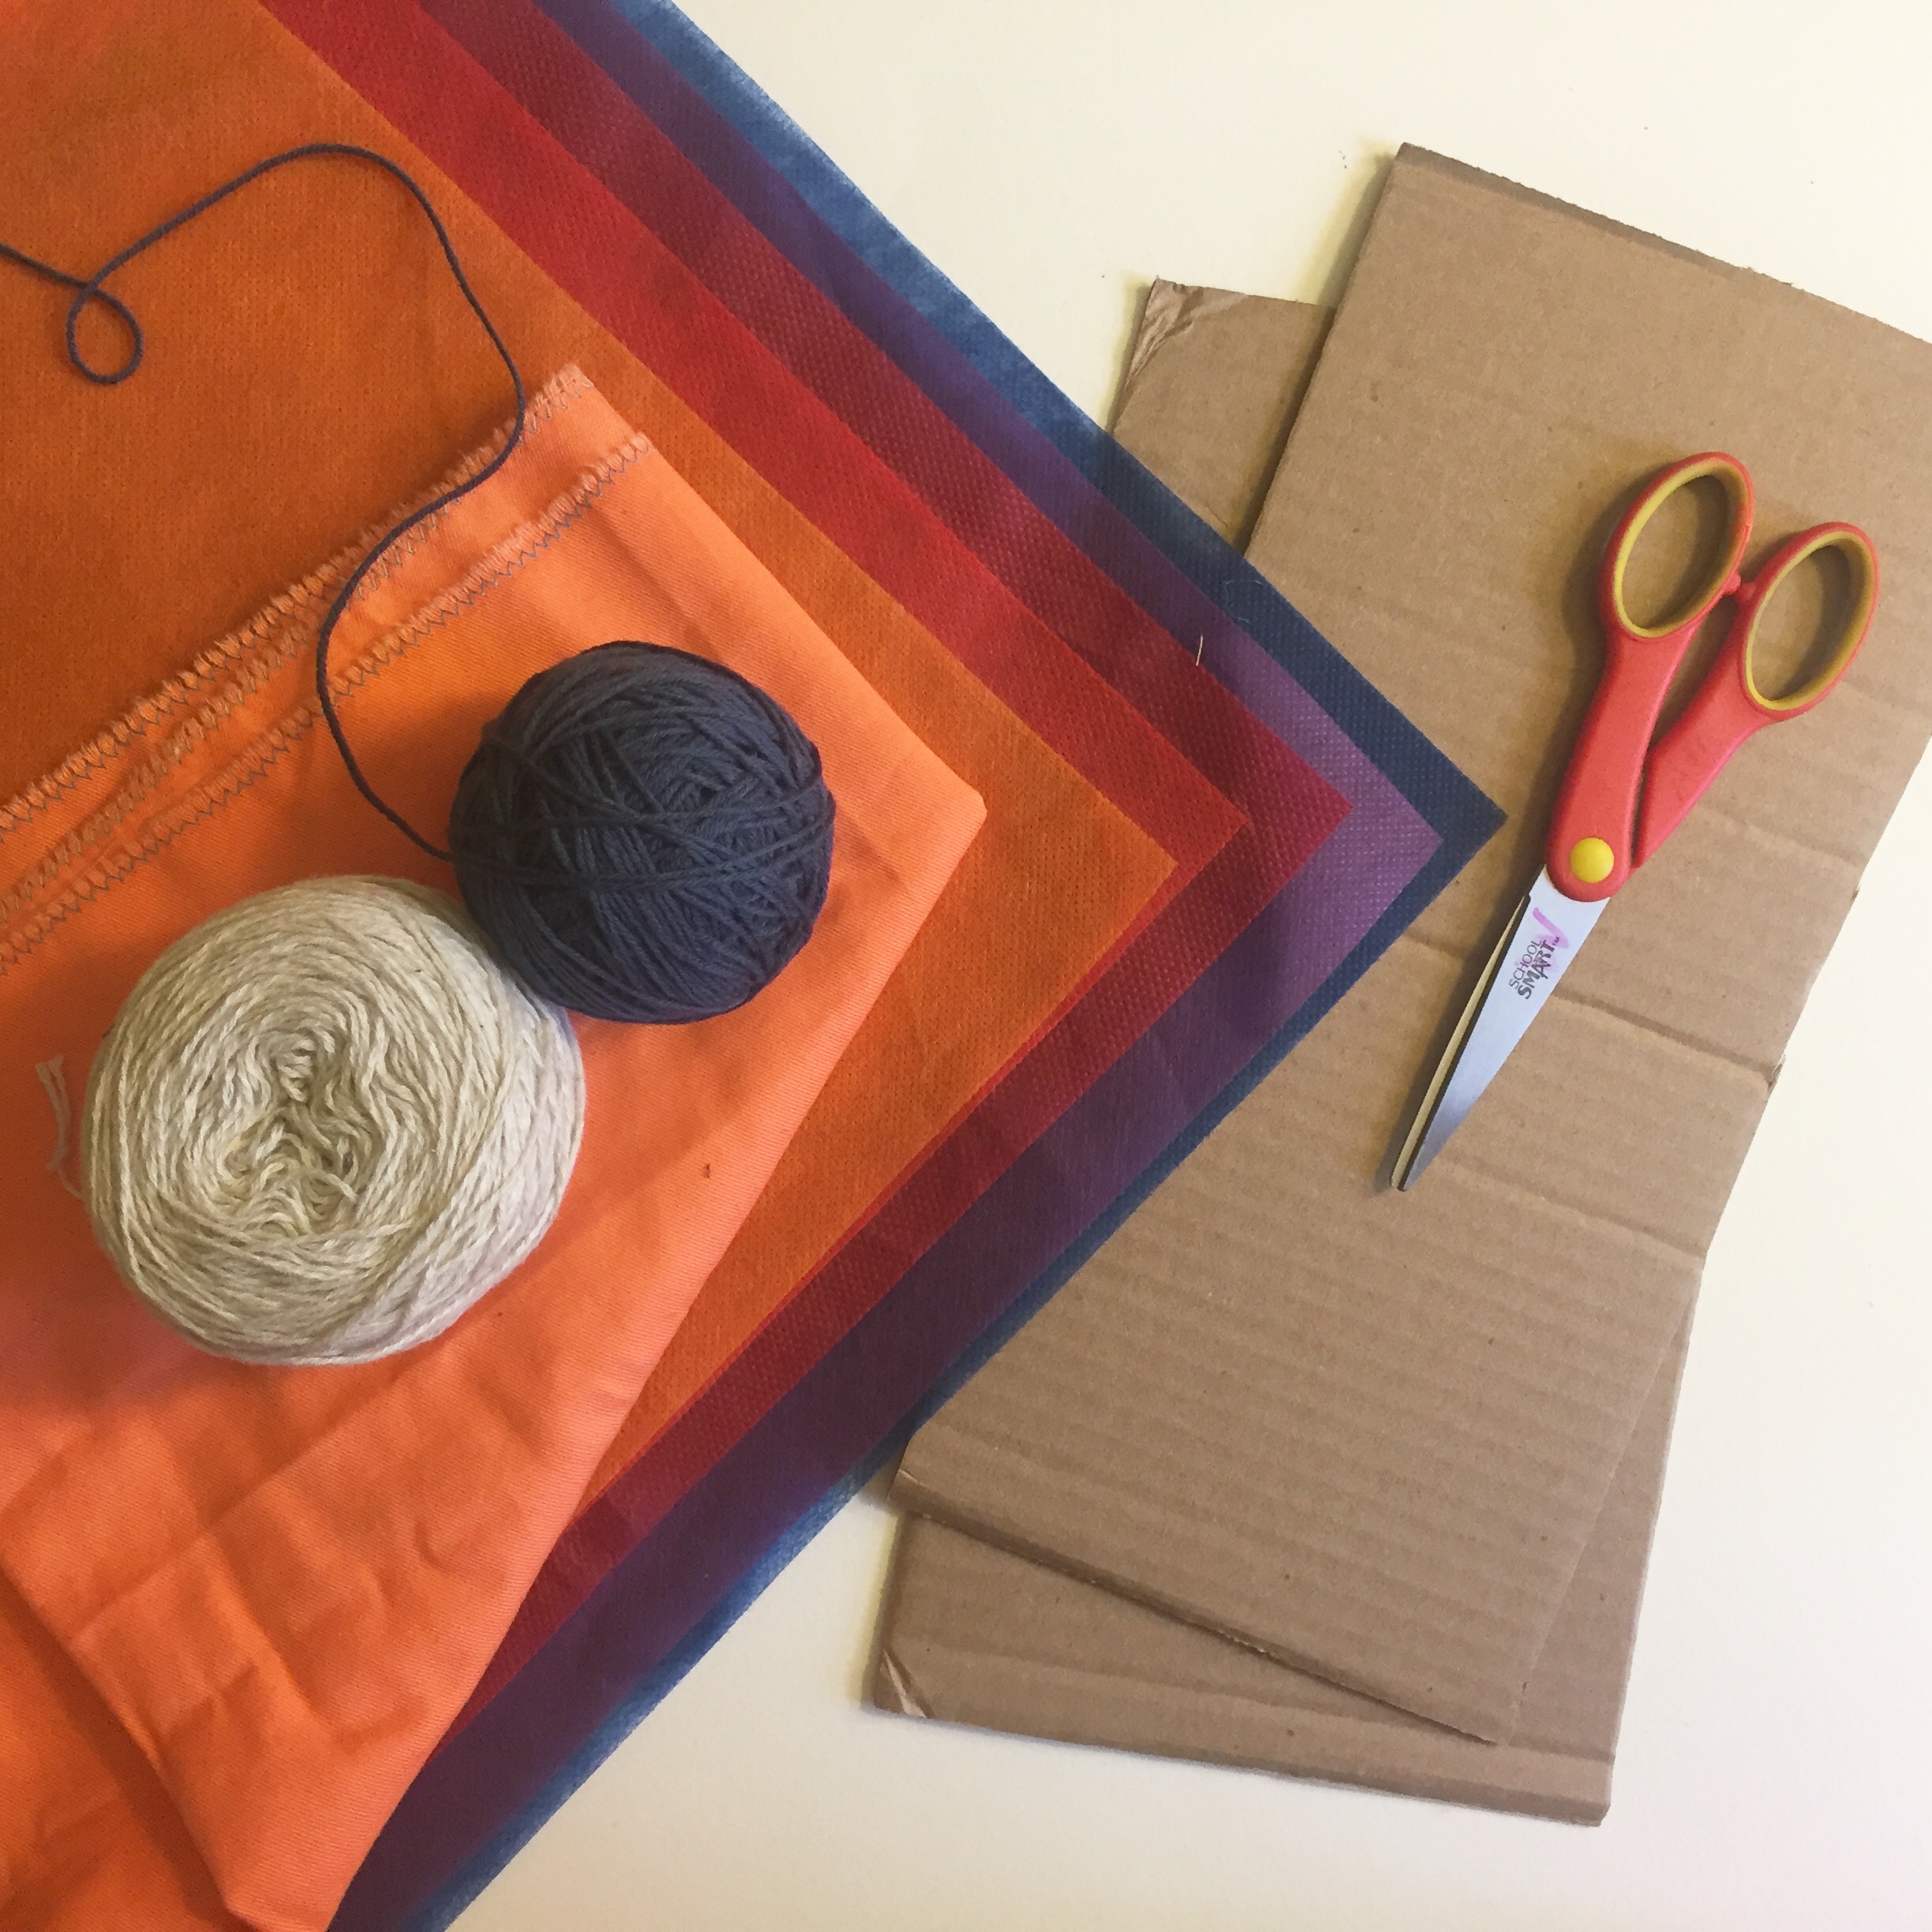
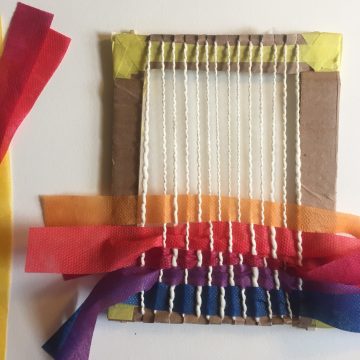
Make your own loom using a sturdy piece of cardboard.
We want to see your creations! Share on social media @hirshhorn with #HirshhornInsideOut.
Time: 20–30 minutes
Do you want to make your own woven creations? Meet the cardboard loom. You can make one using a sturdy piece of cardboard and a pair of scissors. Once complete, explore the possibilities of weaving your own intricate creations!
MAKE IT!
Step 1: Gather materials.
- You’ll need cardboard, scissors, and glue or tape.
- You’ll also want two supports for the loom (chopsticks, popsicle sticks, or pencils will work well).
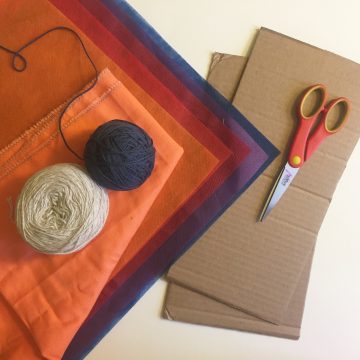
Step 2: Prepare your cardboard!
- Start with a rectangular piece of cardboard. We suggest making your loom about 6 inches by 8 inches to start. As you practice more, try making a loom with larger dimensions.
- Cut a window, leaving a 2-inch frame around the outside. This is important, as you’ll need room for the slits in the next step. Note: Younger children may require assistance cutting through sturdy cardboard.
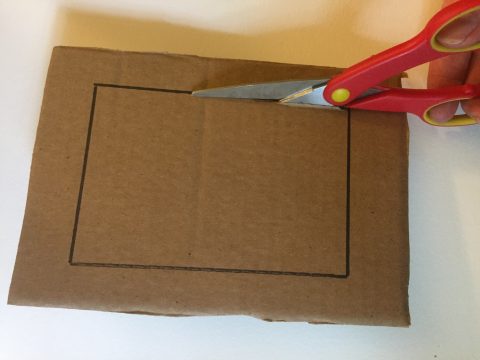
Step 3: Cut slits
- Snip slits on the top and bottom of the loom about ¼inch apart. Make the same number of slits top and bottom, and as even as possible.
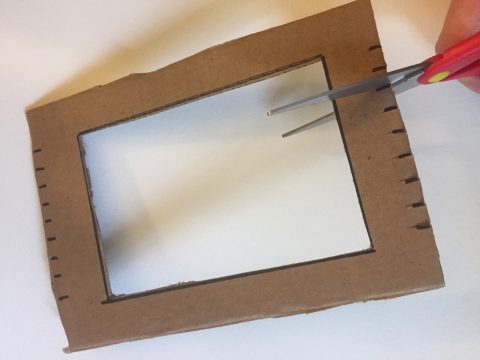
Step 4: Add supports
- Tape or glue a support (chopstick, pencil, popsicle stick) to the two longer sides of the loom

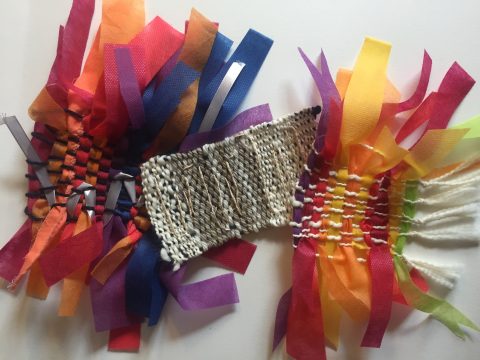
Step 5: Weave Away!
Try your hand at weaving with this project inspired by artist Anni Albers.
Level up: Make a shuttle
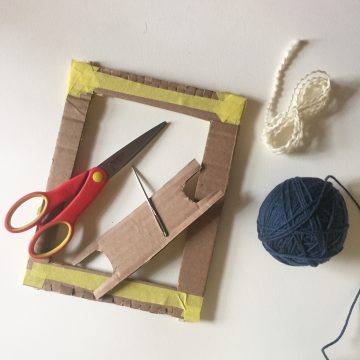
Want to create more intricate designs using thinner yarn and fabric pieces? Follow these instructions to craft your own shuttle!
- Cut a rectangular piece of cardboard that is as wide as your loom.
- Cut two small U-shapes out of the longer sides of your rectangle.
We want to see your creations! Share on social media @hirshhorn with #HirshhornInsideOut.